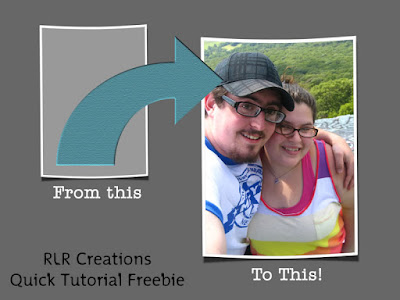
Be sure to go through the steps provided by RLR Creations to get the best results from the photoframe!
Trick! How-To Tutorial:
How to add a photo to a curved photo frame.
(This process of fitting a photo into a curved photo frame was written for Photoshop or Photoshop Elements.)
1. Place curved photo frame into your layout.
2. Position Photo on a layer under frame layer.
3. Using the Magic Wand tool select interior of the curved photo frame.
4. Invert the selection by clicking Select > Inverse.
5. With selection layer still active, Click on photo layer in the Layers palette, press backspace to delete all areas of the photo that are not inside the frame.
6. Merge photo and photo frame layers.
7. Proceed with your layout design.
Check back in tomorrow for Freebie Friday to download a mini-kit of the newest digital kit by RLR Creations, "Watermelon" that was previewed on Monday.

1 comment:
thanks!
Post a Comment